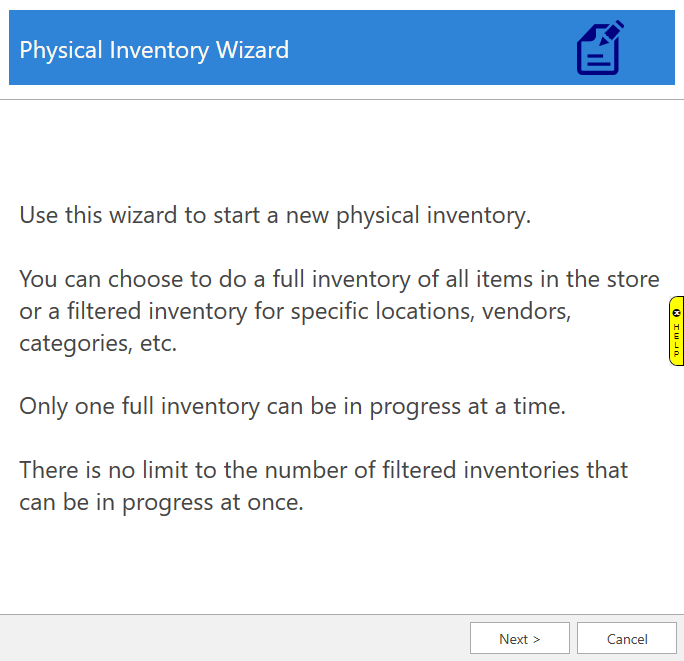
The Physical Inventory Wizard allows you to select what is being inventoried. You can do a full inventory of the entire store or a filtered inventory for selected criteria (locations, vendors, collections, categories, etc.)
Only one full inventory can be open at a time. There is no limit to the number of open filtered inventories. See FAQ section for more information on running multiple inventories at once.
To start an inventory:
1.
Click
Inventory > Physical Inventory > Start New Inv. The
Physical Inventory Wizard will appear. Click Next to
begin.
2.
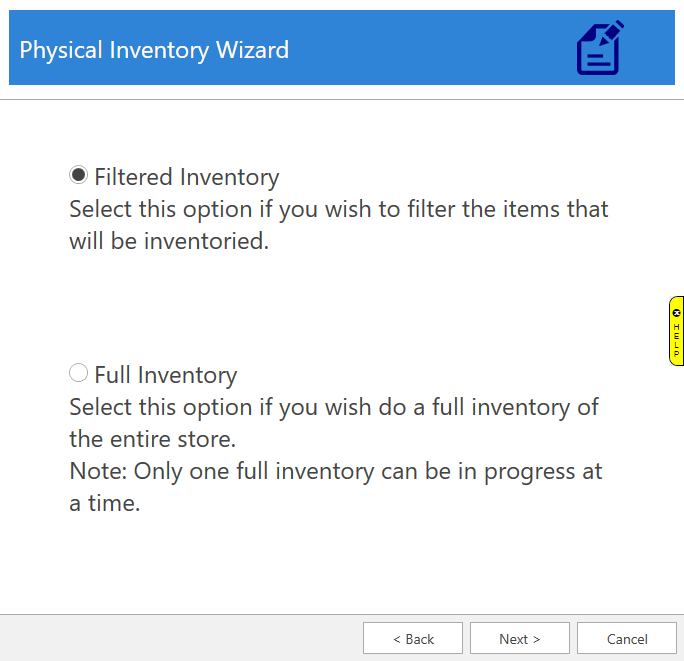
Choose whether doing a Full Inventory or Filtered Inventory, then
click Next. Only one full inventory can be open at a time. If
this option is greyed out, you must finish or cancel the existing
inventory. There is no limit to the number of Filtered Inventories
you can have open at once.
3.
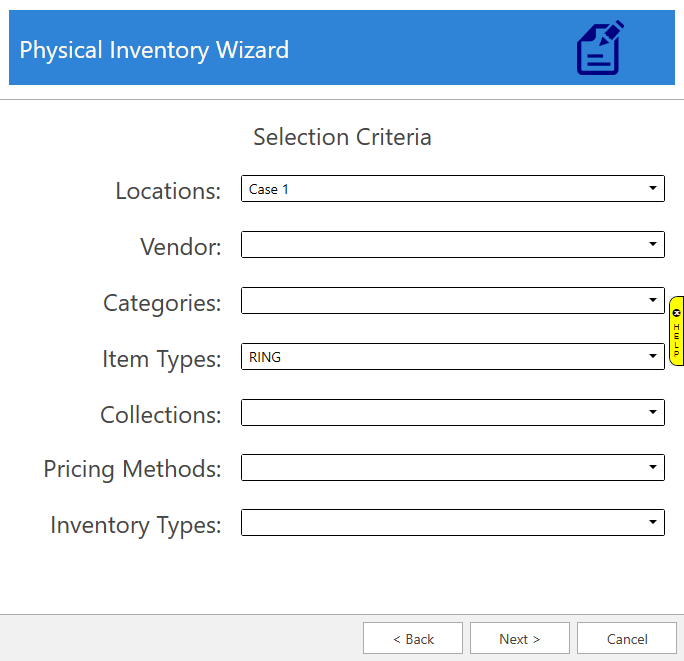
If doing a Filtered Inventory, use the Selection Criteria
drop-downs to set one or more parameters for items to be included in this
inventory. Leaving a drop-down blank will automatically include all
values. Choose criteria and click Next. If doing a
Full Inventory, this step is skipped automatically.
4.
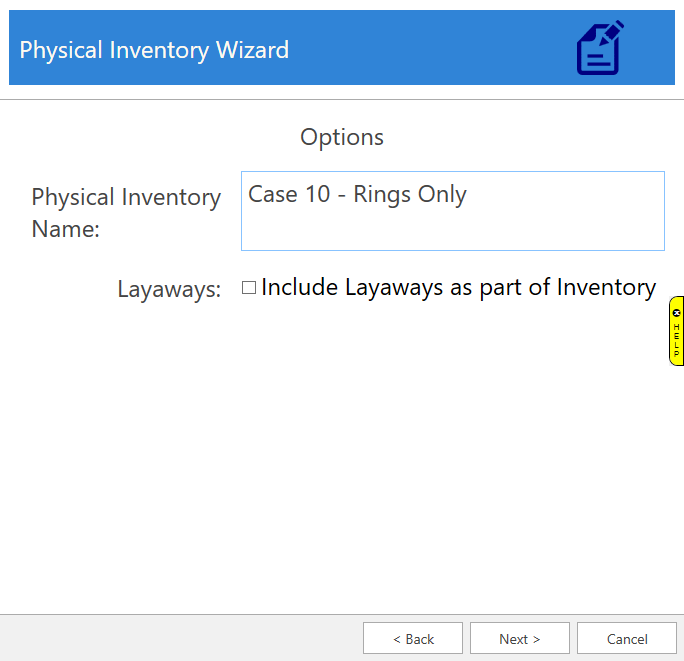
Enter a Physical Inventory
Name, choose whether Layaways should be included, then click
Next.
5. Click Finish. The inventory is now created and the Scanning window will appear. See Step 2 - Conduct the Inventory for the next step in the inventory process.