To use this wizard:
1.
Click Administrative ► Import Images.
The Import Images Wizard will appear.
2.
Click Next. Use the top drop-down to select the folder containing
your vendor images. Use the bottom drop-down to select the folder to save
the images (this defaults to your Edge photos folder).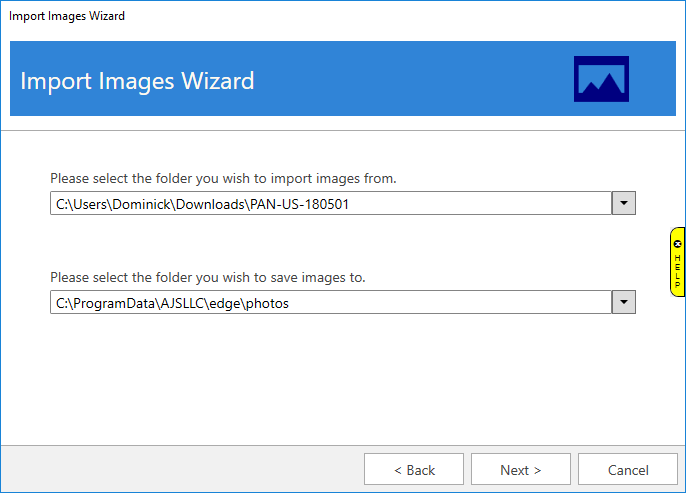
3. Click
Next. 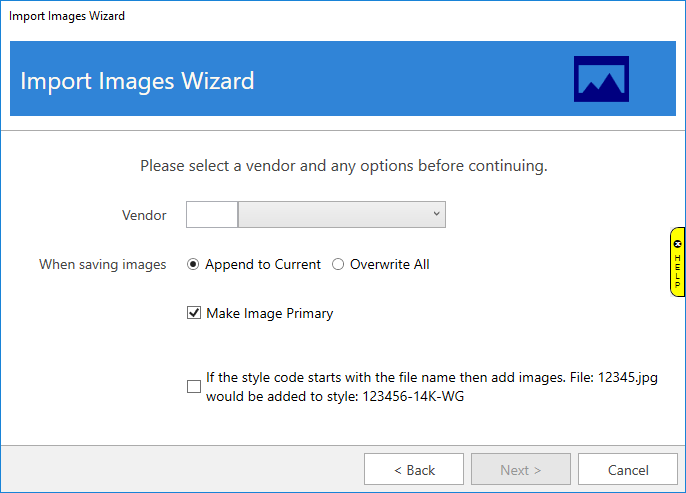
|
Vendor |
Use this drop-down to select the vendor for these images. |
|
When savings images |
Append to Current will add new images and keep any existing. Overwrite All will remove existing images and add new (images are removed from Edge, but not deleted from your computer). |
|
Make Image Primary |
When appending, check this to make the newly imported image the primary. |
|
If the style code starts with the file name then add images |
Check this to match images of the beginning of the file name matches the beginning of the vendor style (e.g. file 12345.jpg would match to style 123456-14K-WG). |
4.
Specify your criteria and click Next. The software will compare the
images to the items in your database and display the number of matches
found.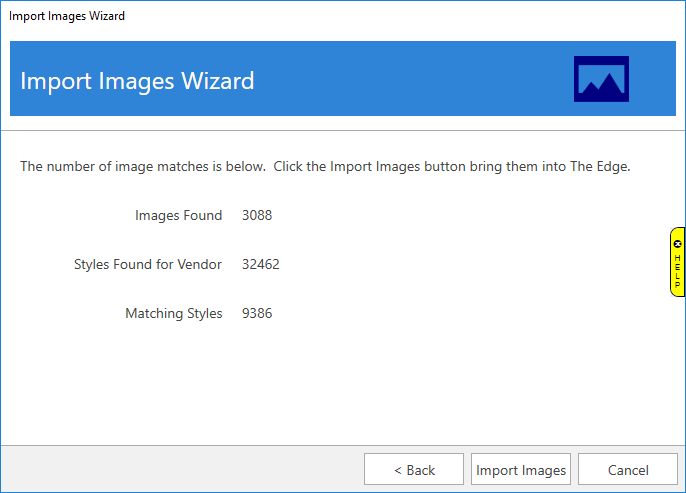
5. Use the Import Images button to import the matching styles. Depending on the number of images this may take a few minutes to complete.