Wish List Entry Mode offers a view of the Point of Sale window that allows for much more wish list flexibility. It does not require that the item be in stock. In fact, wish list items can be rough ideas or descriptions of items. To use Wish List Entry Mode:
1. From the Point of Sale window, find the customer record as usual.
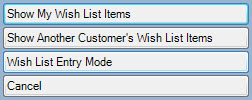
2. From the upper left corner of the window next to the customer information, select Wish List. A sub-menu of wish list actions will appear.
3. From this menu, select Wish List Entry Mode. The Point of Sale window will change to remove non-Wish List functions.
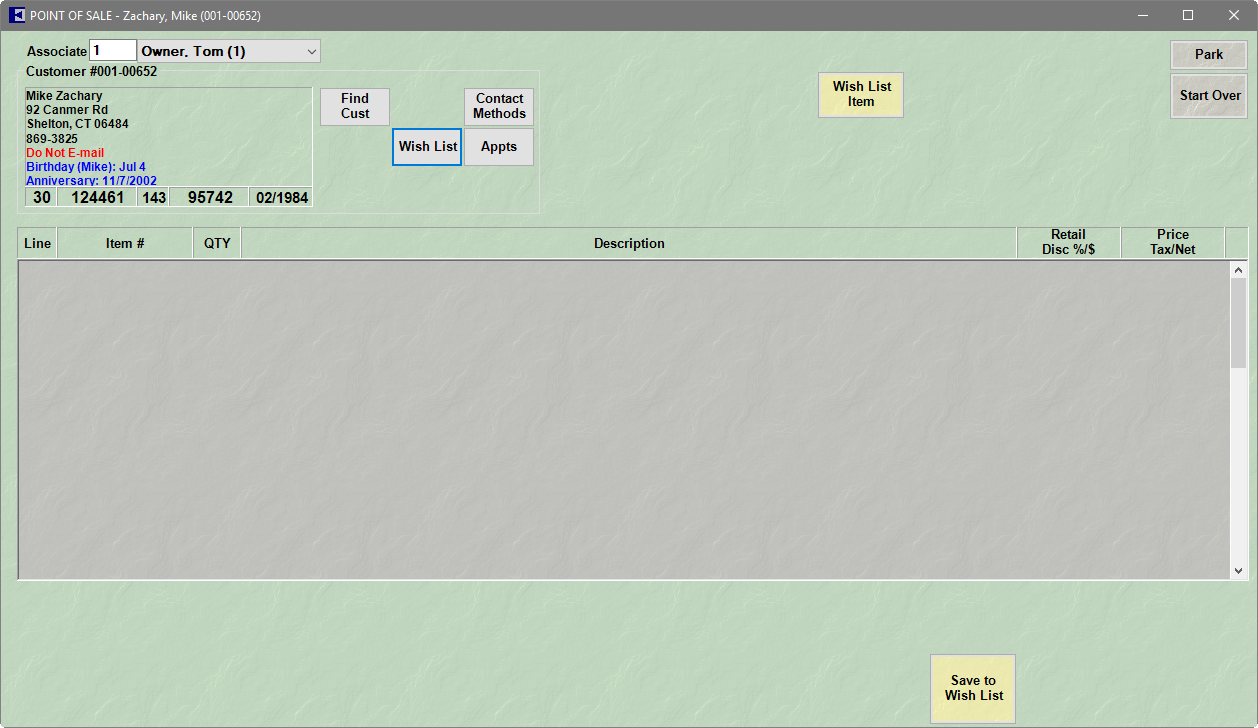
4. Select Save to Wish List. Only fields required for wish list entry will appear.
5. To add items, select Wish List Item. The item line More button will change to read Modify Wish and flash black and red.
6. Select the Modify Wish button. The Wish List window will appear with some of the fields populated based on the data entered at point of sale.
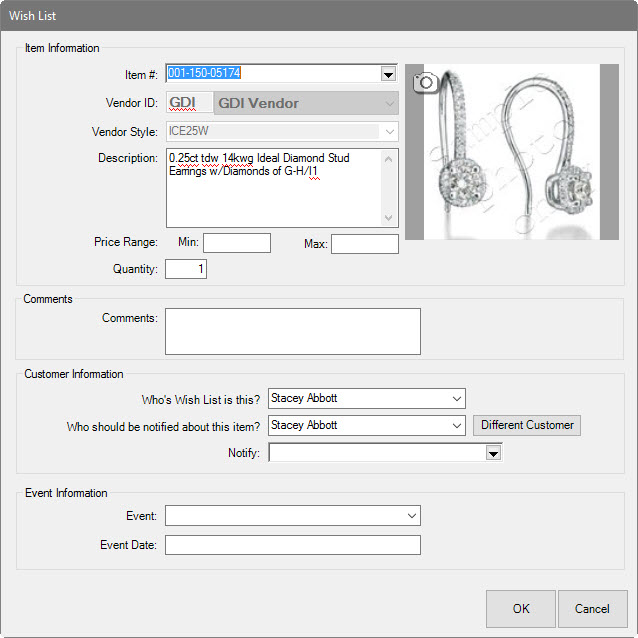
Fields and options in this Wish List window include:
|
Item # |
Use this to indicate that it is not a stock item, or use the drop-down menu to start the Item Find function and locate a particular item. |
|
Vendor ID |
Enter or find the vendor of the item. |
|
Vendor Style |
Enter or find the vendor style. |
|
Description |
This is an opportunity to express a wish for a non-stock item. It’s also an opportunity to discuss options and ideas with the customer. Enter a description of the item. The more the customer can tell you about what he or she wants, the more useful it will be for the buyer. |
|
Price Range |
Use the Min. and Max. fields to enter a bottom and top monetary range. |
|
Quantity |
Enter the number desired. |
|
Comments |
Other information that might help a gift-giver. |
|
Whose wish list is this? |
Indicates who wishes for the item. The default is self. |
|
Who should be notified about this item? |
Indicates who should be notified about the item. The default is Spouse. Select Different Customer to notify a different customer altogether. It will offer a list of related records or you can select a completely different customer. |
|
Notify |
Allows you to pick from the customer’s existing contact information about how to send the notification. For more information, see the section entitled Notifications. Selecting Add allows you to specify a new method of contact, which will be saved on the customer account record. Once the record is saved, the notification will be sent. Because each wish list item has its own record, a separate notification will be sent for each one. Supervisors can resend a wish list. Find the wish, double click it to edit, and select Supervisor, and then Resend Notification. |
|
Event |
Indicates for what occasion the item might be a gift. |
|
Event Date |
Indicates the date of the occasion. If the event is an anniversary or birthday, it will be stored in the customer’s record and can be queried for many marketing reasons. |
7. Complete the fields as desired and select OK.
8. The item will be saved to the customer’s wish list.
|
|
•Only Whose wish list is this? and Description are required. This gives customers much more flexibility. •Wish list entries from Wish List Entry Mode can be reset by selecting Start Over. •If a wish list item is changed, a new notification will be sent. |
