While working on a piece, it is necessary to track progress and organize the parts. Therefore, these processes offer a job details sheet that can be inserted into the envelope. To obtain a job envelope, select Save & Print from the Item window; it can either be the job details sheet or the item details. By default, it will print to the report printer. You can send the job details sheet to customers via email. See the section entitled Job Save & Print for details. Then, using the Done, you can track the location of a job. This is important if you're using System Options that require an item to be marked done before it can be picked up. To mark a job as complete:
1. Select Done from the Services menu.
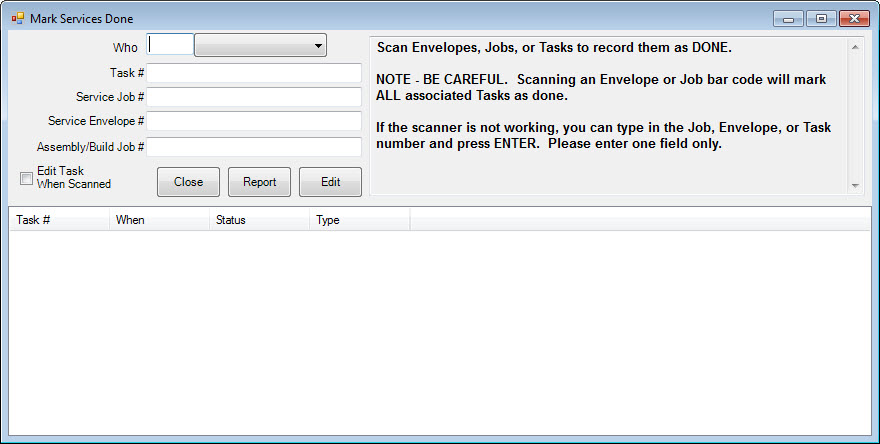
2. The Mark Services Done window will appear.

|
|
Scanning an envelope or service job barcode will prompt you to confirm which of the tasks in the job to mark done. Check System Options to set actions and prompts. |
3. Scan the envelope number, repair number, or task number or enter them manually.
4. To edit the task, select Edit Task when Scanned. Thereafter, every time you scan to indicate a task was completed, a Task Edit window will appear.
5. As items are scanned or typed in, the updated information should appear in the data window of the window. Review the information to ensure that it is correct.
6. Enter additional completed repairs if applicable.
7. When finished, select Report to generate a report of completed repairs.
8. To close the list when you have finished reviewing it, select Close.
|
|
You can mark a number of envelopes as complete by completing these fields once and then scanning each envelope in succession. |