Recording transactions conducted by a customer is important to maintaining customer relations and tracking customer activity. You can add customers using the Add a Customer function described in the section entitled Adding a Customer. If you do, customer information can be found using the Customer Find filter.
To complete the Customer information section during a point-of-sale transaction, ask the customer his or her name and perhaps whether this is their first visit to the store. If you know the customer is new or if you can't find a record using the Customer Find filter, you can create the customer record at point of sale as follows:
1. Selecting Add from the search results window or New Cust from the Point of Sale window. The Add a Customer window will appear. The window may appear in three different ways, depending on your System Options: Fast, Fast Plus, and Full.
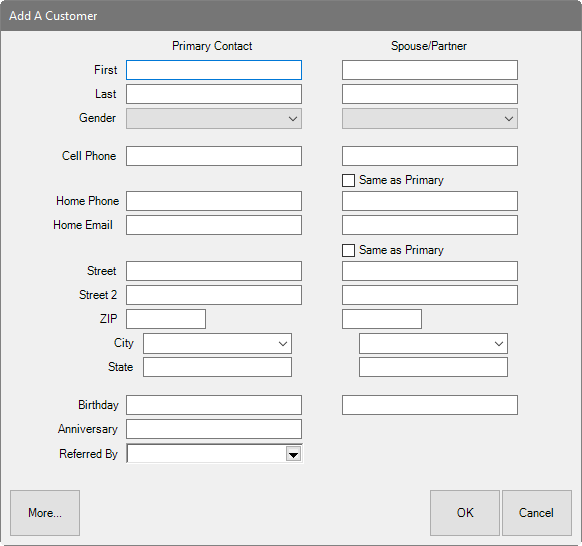
The Fast customer add option is abbreviated:
In this window, the More button will return the full Customer Add window. These fields are similar to those in Add A Customer, but streamlined into one window.
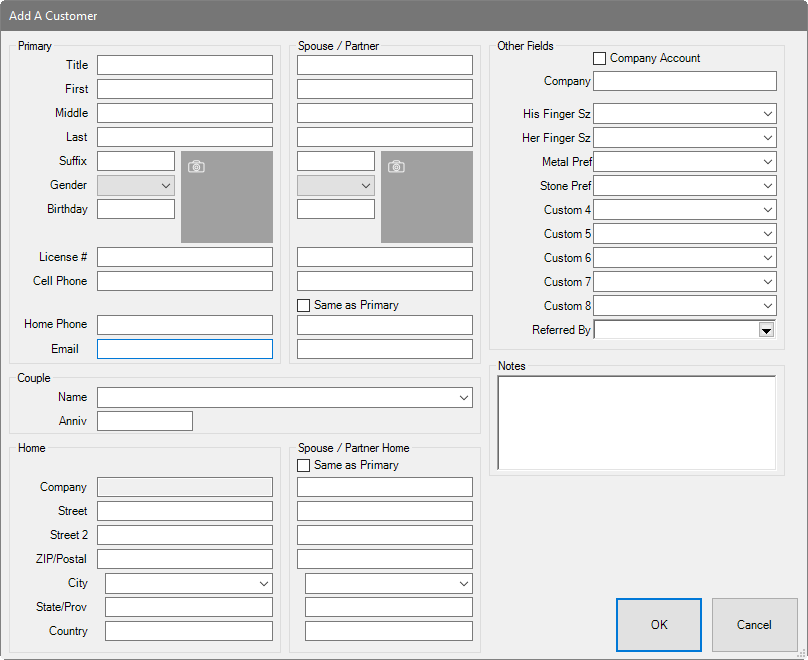
The Full customer add option window contains many more of the fields used at Customer ► Add.
2. Populate the fields in each tab as described in the section entitled Working with Customer Record. Required fields are determined by your System Options.
3. Select a save option.
If there is record in The Edge that is similar:
1. The Possible Customer Matches screen will appear with a listing of possible and probable matching records.
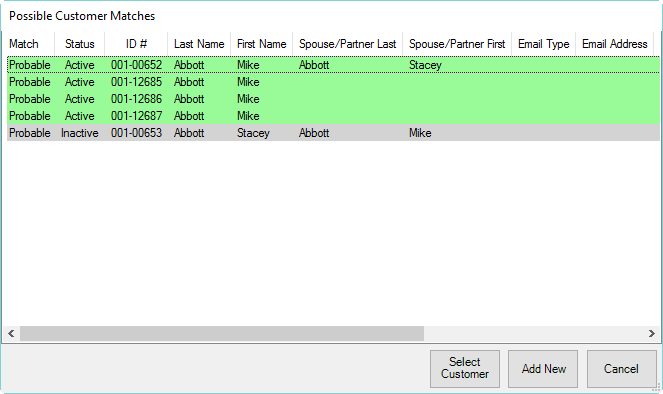
2. From here, choose from one of two options: select a customer from the list or add a new customer record based on the data entered to date.
a. If the desired customer appears in the list, select the record and Select Customer. You will be prompted to confirm your selection, and any information you added to that point will be incorporated with the existing record.
b. If there is a conflict, you will be prompted to choose the correct data. Checking Take will incorporate the information highlighted in green into the existing record.
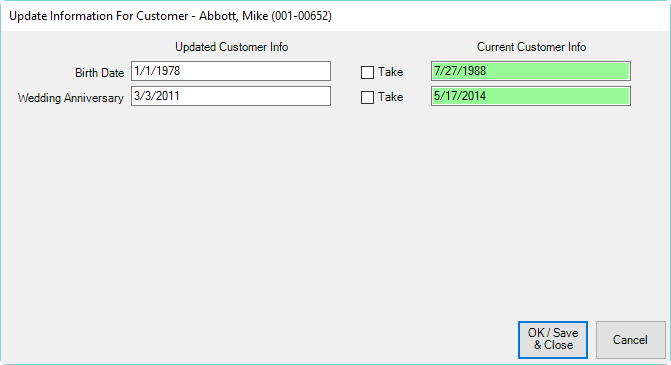
c. Select OK/Save and Close; the record will be saved.
Notice that inactive customer records are highlighted in gray. If you select one of those, you will be prompted to make the record active.
3. If the desired customer is not one of the possible matches, select Add New and complete the entry.
|
|
The duplicate customer feature will help you avoid creating duplicate customer records, you might also search for the customer before adding him. If no match is found, use the Add button from the resulting customer list window. This will auto-fill your search criteria into the appropriate fields. For example, if you searched for customer Woodrow Wilson and found nothing, press the Add button would automatically fill in the first name field with Woodrow and the last name field with Wilson. |
